Drift Innovations Ghost X Action Cam Review
 Neil Jewell of Jewell Bike Training tests the Ghost X Action Cam with many thanks to Drift Innovations check driftinnovation.com for more info
Cameras are everywhere you look these days. Speed Cameras, CCTV cameras, Dash Cams and also Action Cams. If you are looking to capture your epic events then is an action camera the tool for the job? Superbike News recently reviewed a motorcycle dash cam https://superbike-news.co.uk/viofo-mt1-dash-cam-review/ so, which is right for you, an Action Cam or a Dash Cam.
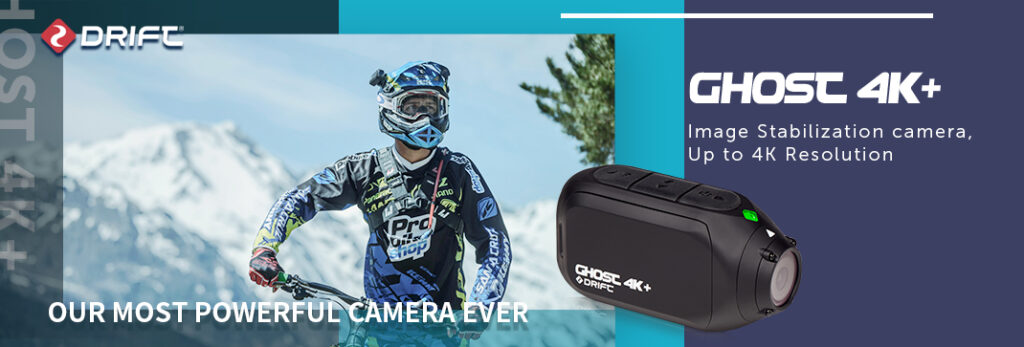
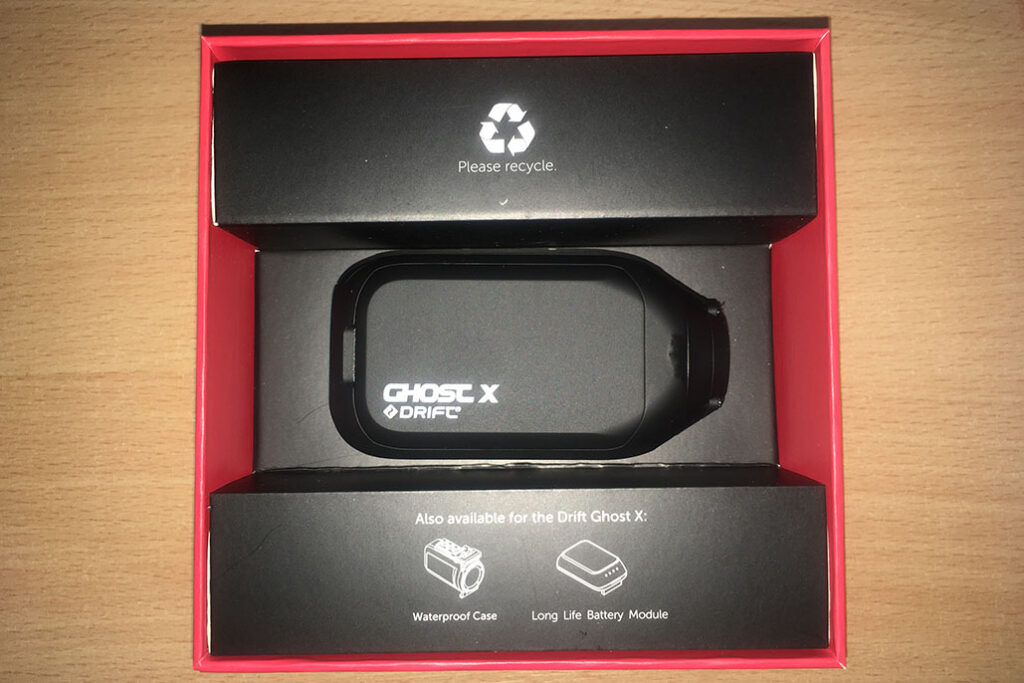
The Ghost X from Drift is a compact action camera that has been designed to be mounted virtually anywhere. It records HD 1080P video at 30fps
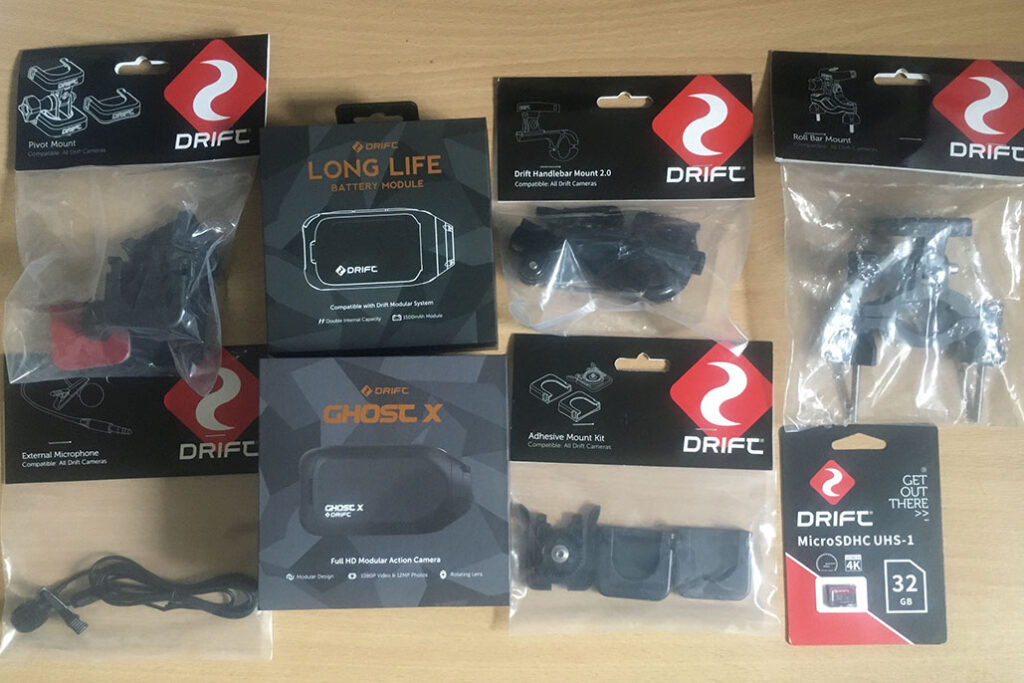 It’s Drift’s budget camera coming it at about £130, it offers a 5 hour battery life which can be extended to 8 hours with the bigger battery unit that is available for another £25. The included 32GB microSD card might need to be replaced for a bigger one as a 10 minute video (1080P) takes up 3.8GB of storage so by my very rough calculations you are probably good for 1.5 hours before you’d fill the card. Not a problem if you change one of the mirad of settings to give you loop recording. The loop interval can be set at different stages between 10 seconds and 10 minutes meaning it will record at 10 minute lengths until the card is full then return to the start and begin overwriting.
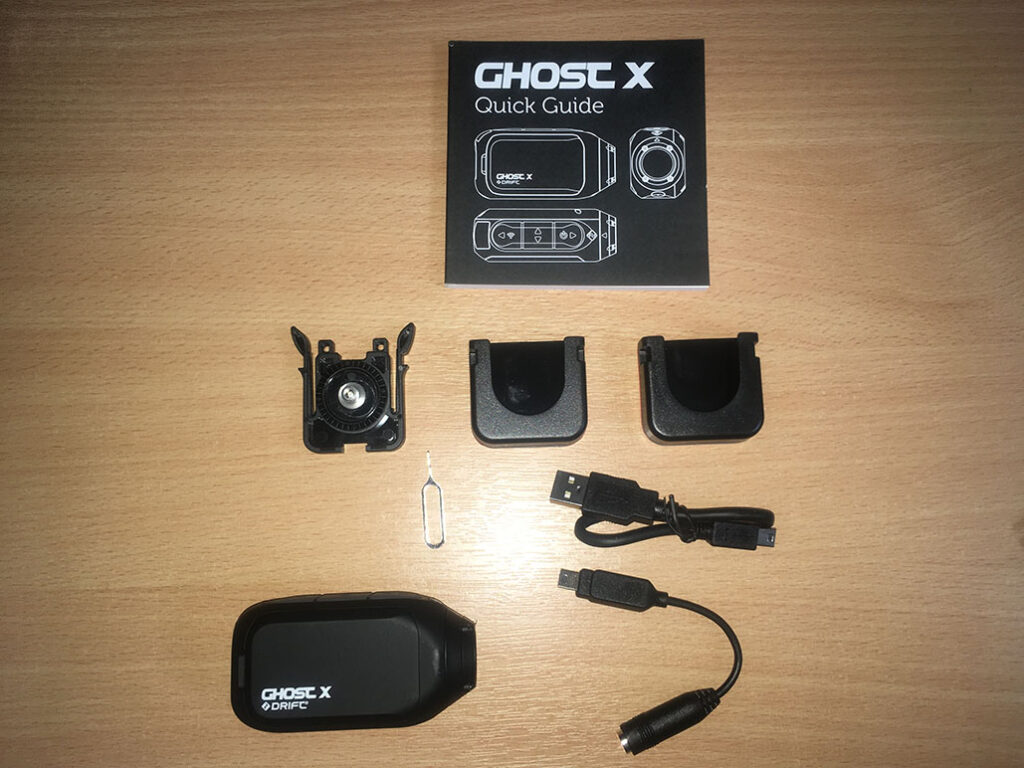 In the box is everything you need to get started. I initially ignored the instruction manual as it looked too thick and technical. I set about figuring the camera out myself. There are only 3 buttons on the top how hard could it be. One button is clearly an on/off as identified by the international on/off symbol. I pressed it, nothing. I pressed and held it for a couple of seconds and the little camera beeped into life.
The back of the Ghost X has the tiniest of screens, smaller than a postage stamp, it had illuminated a pleasant green colour. This is where those with bad eyesight may begin to struggle. The little screen is giving out a lot of information in such a small space but, if you can see it, it does makes sense.
Information such a recording mode; view angle; recording quality; the number of files saved; battery life and remaining card capacity are all shown on a screen size of 132mm²
Staring at the screen I began pressing buttons, The top button, the one closest to you as you look at the screen, cycles the display through the various modes that the Ghost X has to offer, Video, Still camera, time lapse, burst image, settings menu, each one of these comes with its own colour. This will prove useful as you can instantly tell the mode the camera is in simply by looking at the glow and not squinting at the screen. Pressing the button again cycles back to the start. I pressed the middle button and discovered this cycles through the options on the screen being displayed, so in video mode you can alter the resolution to 1080, 960, 720 or WVGA which is probably the same resolution as a typical CCTV camera the advantage being you can up the frame rate to 60fps if you need to. I’m not a keen photographer so would probably need to look up what a lot of the settings do to fully understand the functionality of the Ghost X but then I would probably ignore them all and set it to record video at its best 1080P x 30fps resolution and never touch any settings again.
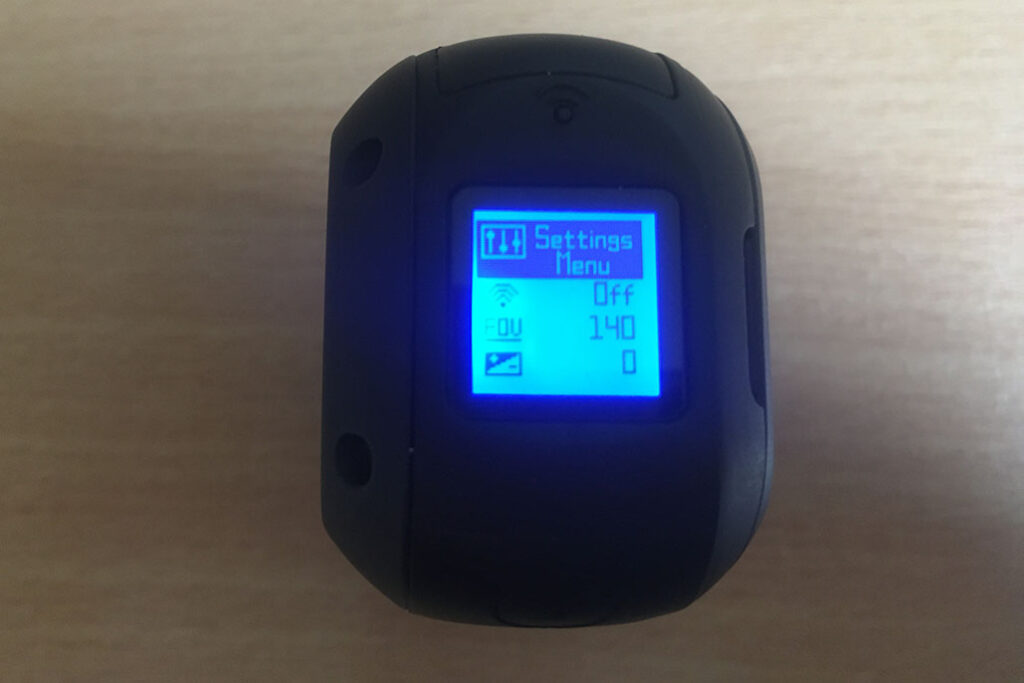 Cycling through the screens and the modes, I only had to revert to the instruction book once and that was to understand what the K140 meant. I could change it to K90 and K115 but did not know what I was doing. Reluctantly, I flicked through the quick guide to realise that the K wasn’t a K but a symbol to illustrate the field of vision for the recordings. There are three options 90º, 115º and 140º.
Once familiar with the button layout and how the options on the screens cycle through the menu options and back to the beginning, setting up the time and date and other options on the Ghost X was relatively simple. Just click slowly to get to where to need to be otherwise run the risk of cycling through all 28 menu options before getting back to where you need to be. (press and hold the button to go backwards through the menus)
One of the 28 menus was Video tagging, this seems like a very clever idea if you don’t want to be recording all day and then have to wade back through hours of footage to find that one time where your mate did something cool. Video tagging is like having the Ghost X set in sleep mode, it’s always watching but not recording until you press the record button. Then, depending on the settings it can record the previous 2 minutes and the following 2 minutes. With Video Tagging, you’ll never miss that perfect action shot ever again.
I eventually found my way back to the screen that told me the camera was in video mode but how to actually record video? I had one button left to press so pressed it, The Ghost X emitted a little beep, change to a big beep or no beep in settings, and the green glow turned red. It was recording.
Starting and stopping is as simple as touching a button and to check it was all fine I hooked the camera up to the computer using the included USB lead and was impressed at how quickly the device was recognised. Much easier than removing the SD card from a DashCam type recorder. The Camera also charges up while attached to the computer and the little screen glows green when fully charged.
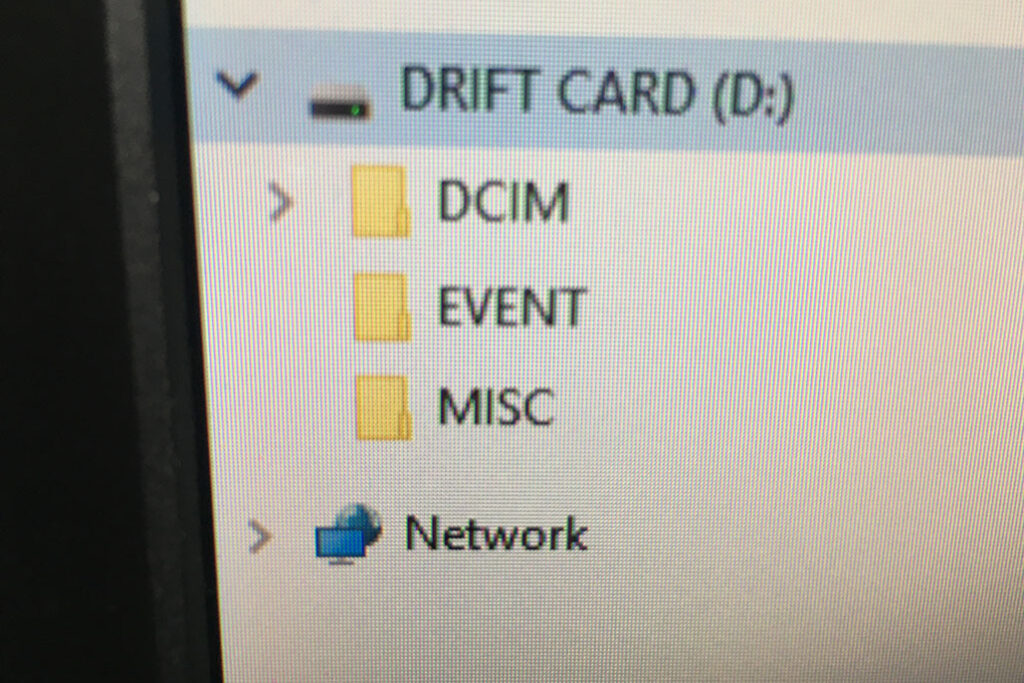 Feeling good that I had worked out all the buttons and squinting at the tiny screen, I was feeling ready. I just one had more flick through the user guide to make sure I had found everything. It was at this point I made the life decision to read the manual first on every new thing I get.
 The guide was easy to use and only so thick because it contained all of the languages. It mentioned an APP, of course there is an APP, I downloaded that and looked up how to connect the APP to the camera. It was here that the instruction booklet came into its own. After connecting the APP to the phone via on-board Wi-Fi (easy) you get full access to all the system settings on your phone screen, not one that is 11mm wide x 12mm high. You can see a live image of the camera on the phone to help you set in the perfect location. You live and learn. The APP does a lot more than just system settings you can control the camera, live stream and join the drift community to share videos and experiences.
After fiddling with the menus, it was time to fix the camera to my crash helmet. I already have a motorcycle dash cam on the bike, I didn’t want to go full Tellytubby and mount it on the top on my lid so opted for the side. The box contains 2 x 3M sticky pads, one is flat and the other curved. There was a lot of searching for the best location on the helmet to stick it. 3M pads are wondrously sticky so I wanted to find the right place first time. One of the great things about the Ghost X is that the lens can rotate so the camera can be mounted at any angle and the level corrected by simply rotating the lens so that the marker arrow is pointing straight up. Doing this exercise while looking at the image on your phone means you can get it right first time.
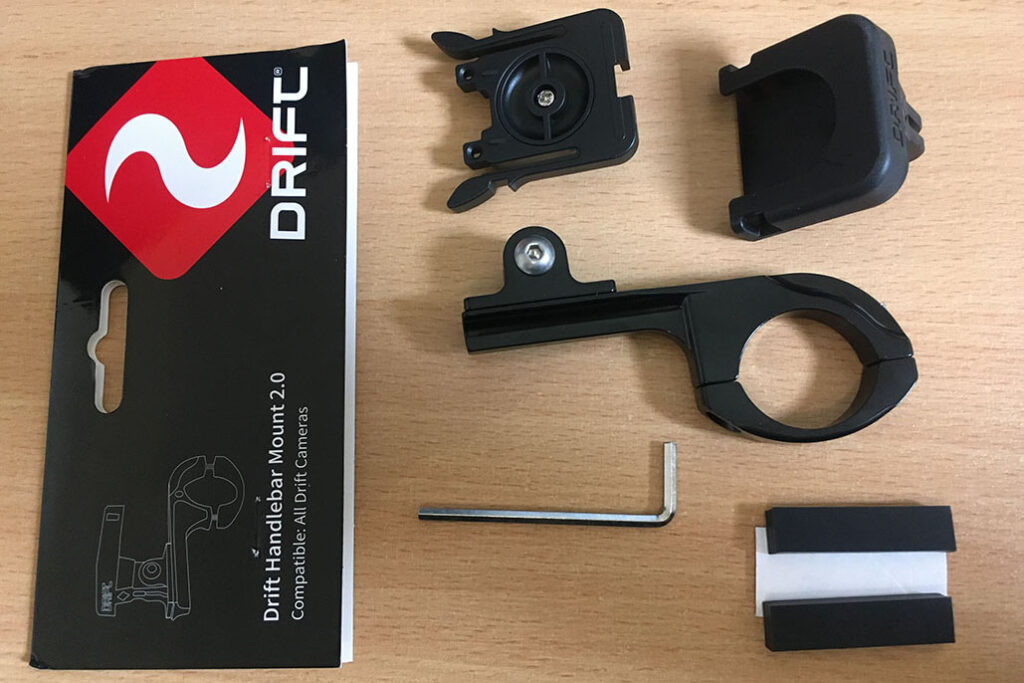 As expected from an action camera there are many different mounting option available, the handlebar mount, designed for mountain bikes, might work on the handle bars or crash bars of some motorbikes. It is made from metal and looks & feels well build and robust. There is a pivot mount that will allow for the camera being mounted any which way; a roll bar mount for clamping onto scaffold sized tube. In fact, wherever you want to mount your camera there is probably a mount designed to do that job on the Driftinnovation.com website.
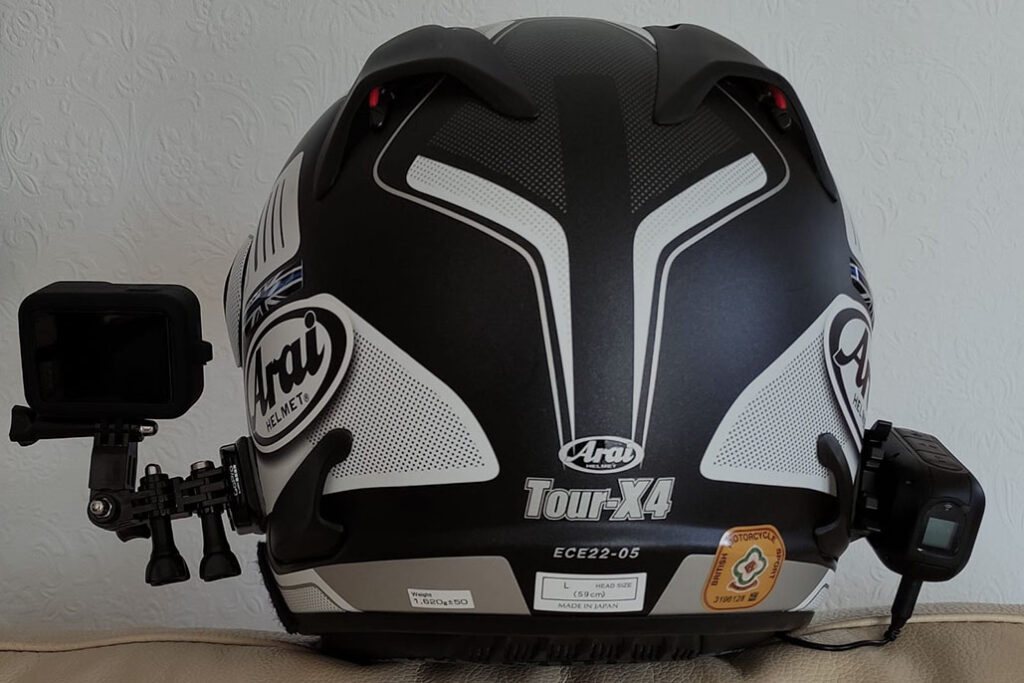
I wanted a sleek fitting camera so went for the simplest solution of the curved sticky pad and then having the camera clip fitting directly into that. The camera clip is indexed onto the camera with a serrated grooved ring that controls the vertical angle the camera. The horizontal view depends on where you put the sticky pad. Changing the orientation of the camera and rotating the lens can be done without tools making camera position changes quick and easy, something that can’t be done with a dashcam.
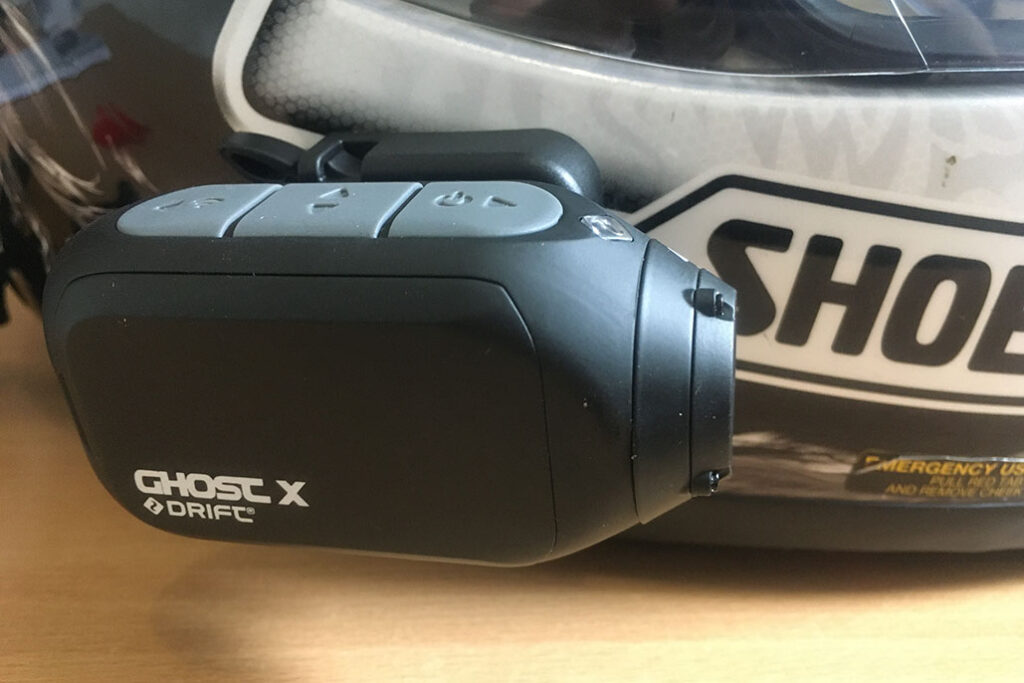 The camera clip locks into the sticky pad via a couple of spring loaded plastic prongs. Pinching these together enables the camera to slide out. When not on the helmet the sticky pad socket is hardly noticeable. One thing I would always want to be sure of, though, is that the camera clip is securely located in its socket. Make sure you listen for 2 audible clicks as it locks into place and then try to pull it back out. The last thing you want to see is footage of your camera bouncing down the road, if you ever find it again that is. There are no tethers available on the website to offer peace of mind.
The buttons and the release prongs are easy to use with a gloved hand. Once you have mastered where the buttons are, you can turn the Ghost X on and off and start and stop the recording by touch. Or do as I did and start the camera recording and then lock it into place on the helmet. Remember that colour coded screen? There’s a small indicator light above the lens so you can check in a mirror what mode you’re in and if you are recording or not just by looking at it.
Out and about on the bike, I didn’t notice the camera at all. It’s slim enough that it doesn’t rub on your shoulder when cornering and light enough that I couldn’t feel it. I made a few runs, the first one used the onboard mic and suffered horrific wind noise, maybe the sensitivity was too high. The second run I used the external mic. On returning back to base and reviewing the footage I was very disappointed that the mic had not picked up commentary. I did some checks with another mic and diagnosed a bad connector on the original mic. I’ve ordered a new one for £10 which fixed the issue.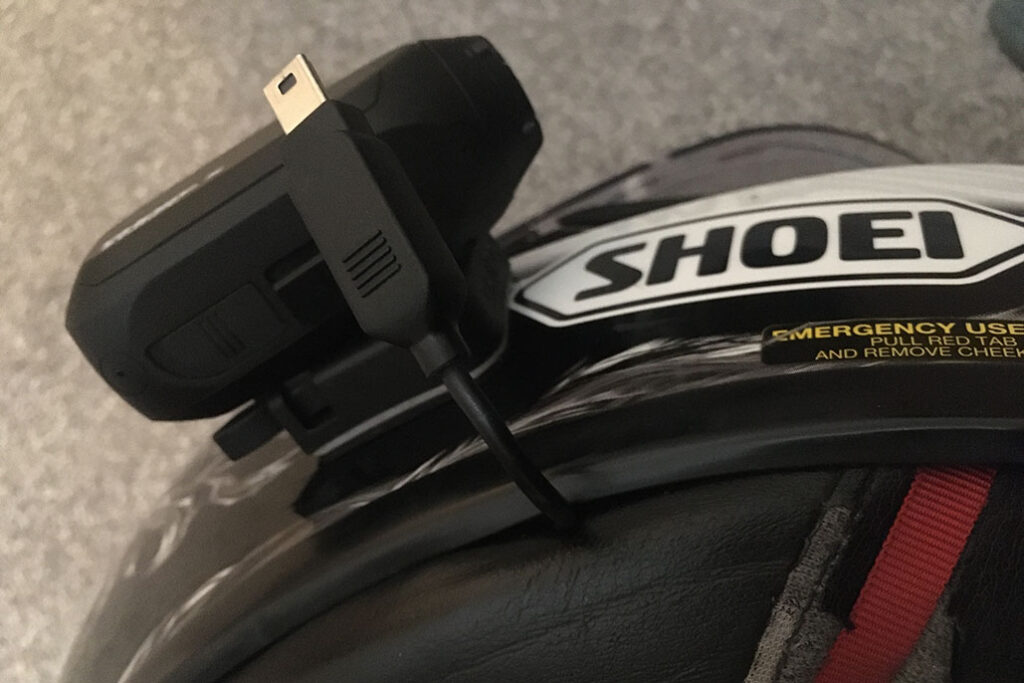
With the mic fixed and installed inside my helmet alongside my intercom mic, I connected the app to the camera via the on-board Wi-Fi and set off on another test run using the app to alter the settings along the way.
[embedyt] https://www.youtube.com/watch?v=WDiYkKhAGHk[/embedyt]
The Ghost X is not waterproof at least, I don’t think it is. It’s probably not fully waterproof. you see, I’m not really sure if it is or not but there is a waterproof case that is available as an accessory so, if you do want to go out in the rain then that is probably what you need. I tried in on the camera and was not happy with it. It’s good for 40m underwater though! The Ghost XL is waterproof, according to the website, and as it’s only another £20 I’d get that one. However there is one annoyance that comes from browsing the Driftinnovation.com website, and that’s the constant notifications that people are buying stuff. I really don’t need to know that Karen from Margate has just bought a Drift Class 10 MicroSD card 1 hour ago. I want to know the IPX rating of the Ghost X is please so I can decide to go out in the rain or not. Thank you very much.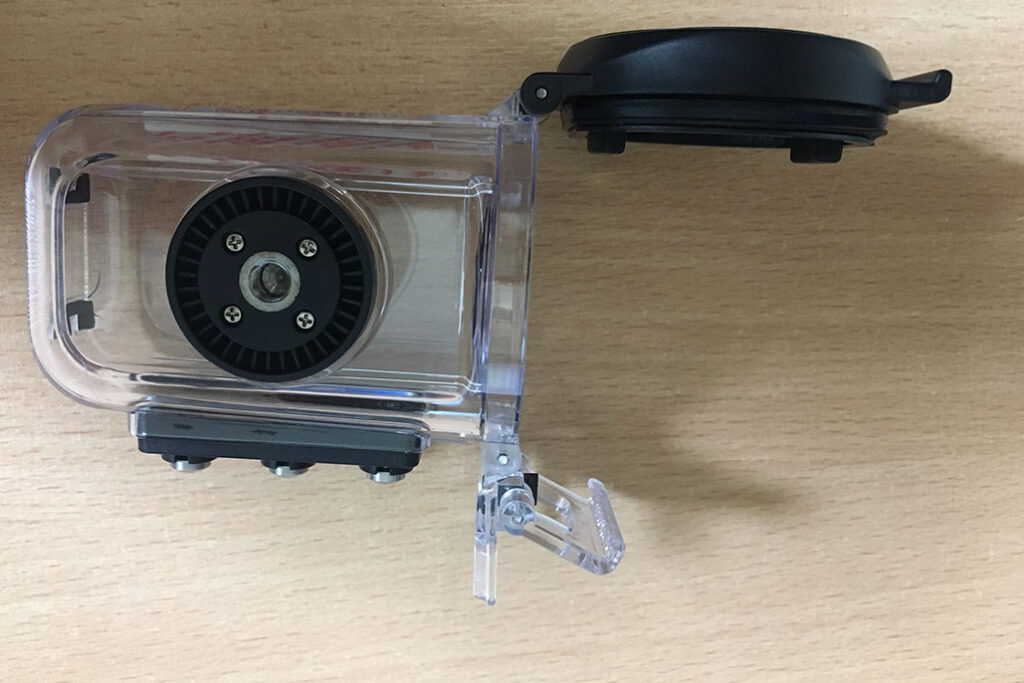
Overall, a great action camera, reasonably simple to set up and get going but will need some fine tuning of the settings to get the most out of it. I was happy that it came with a fully charged battery so I could start to mess with it immediately. I later searched the website and found out that the Ghost X is IPX4 rated. This means that you can use it in the rain, but not at high speed in heavy rain.
 It has other modes apart from the video; you can take 12MP still images; bursts of up to 15, 4MP images and set up time lapse. These are good to have but I wonder how many times they will be used.
It’s certainly less hassle as a camera than a dash cam system, it’s compact and easy to access the files with the USB link, the quality of the video is great and it offers more to the video creator because when mounted on the helmet it follows the rider’s eye. With the bigger battery and a larger SD card up to 128GB the recording times are comparable to that of a hardwired dash cam system, but ask yourself how often do you ride for longer than 8 hours? Even if you do, grab a spare battery that can be charged up via USB and swap them in seconds. The downside is that it only records in one direction and if something happens behind you you’ll miss it.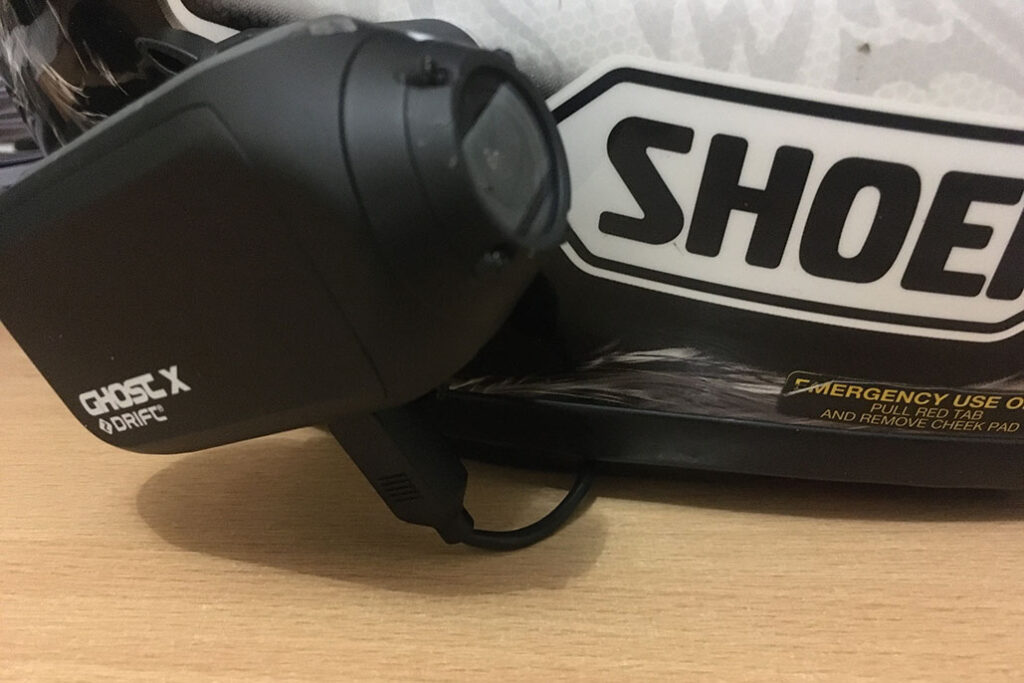
So which is right for me dash cam or action cam? Well the perfect solution is to have both. The helmet mounted action cam will be used extensively to record live commentary over the top of video for training and feedback purposes and the front and rear dash cam system will be there to record any incidents and as also as back up when, not if, I forget to press the record button.
Definitely a great little camera that looks sleek has a lot of functionality and will absolutely capture your best moments. You should get one.
Review and photos by Neil Jewell of Jewell Bike Training
You can check out Jewell Bike Training website and also follow on socials
T: @jewelltraining
FB: @jewellbiketraining
Insta: @jewellbiketraining
For more reviews check out our dedicated Reviews page
For more Drift Innovation and our reviews check out our new dedicated page Drift Innovation News
or head to the official Drift Innovation website www.driftinnovation.com

